Easy Strawberry Crunch Cheesecake Cones Recipe
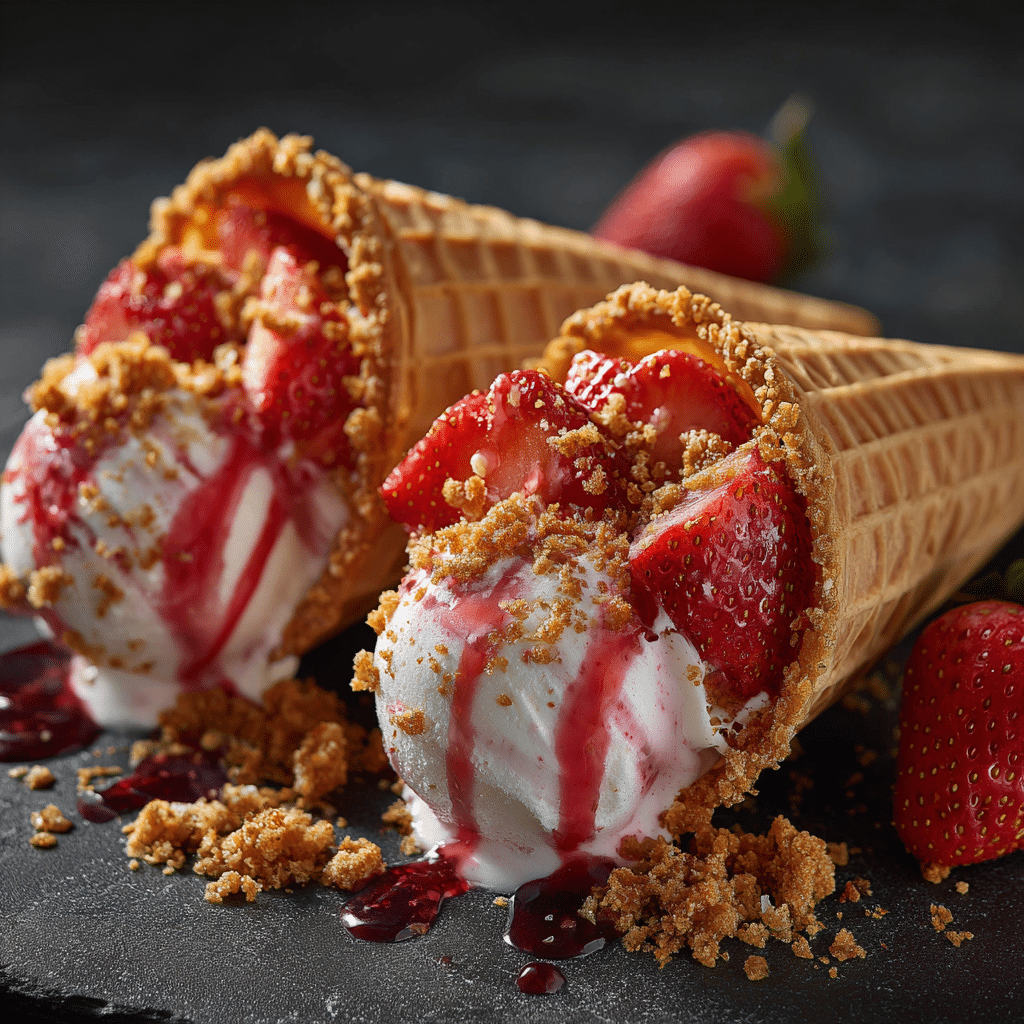
Delight in creamy Strawberry Crunch Cheesecake Cones made easy with this quick, no-bake recipe perfect for summer treats and gatherings! These Strawberry Crunch Cheesecake Cones combine the luscious tang of cheesecake with fresh strawberries and a satisfyingly crunchy texture, all nestled inside a crisp waffle cone for a fun and mess-free dessert experience.
Why You’ll Love This Recipe
- Effortless Preparation: No baking required means you can whip these up in minutes without heating up your kitchen.
- Perfect Portion Control: Individual cones make serving and enjoying mess-free, bite-sized treats a breeze.
- Fresh and Fruity Flavor: The strawberries bring a natural sweetness that balances the creamy cheesecake filling beautifully.
- Crunchy Texture Contrast: The crispy cone and crunchy cracker topping add delightful texture against the silky filling.
- Great for Gatherings: These cones are a charming and visually appealing dessert option for parties and summer events.
Ingredients You’ll Need
Keeping things simple is the secret here. Each ingredient plays a crucial role in creating the smooth, fruity, and crunchy layers that make Strawberry Crunch Cheesecake Cones irresistible.
- Cream Cheese: Provides the rich and creamy base for the cheesecake filling; softened for easy mixing.
- Whipped Cream: Lightens the cheesecake mixture to a fluffy, airy texture that’s easy to scoop.
- Powdered Sugar: Adds a smooth sweetness that dissolves perfectly into the filling.
- Fresh Strawberries: Adds juicy freshness and natural sweetness; diced for distribution through the filling.
- Vanilla Extract: Enhances flavor with a warm, aromatic touch.
- Waffle Cones: The fun, edible cups for serving that add a crispy bite.
- Crushed Graham Crackers or Cookies: Provide the signature “crunch” topping and a hint of caramelized flavor.
- Optional Lemon Zest: Brightens the cheesecake with a subtle citrus zing.
Variations for Strawberry Crunch Cheesecake Cones
Customizing Strawberry Crunch Cheesecake Cones is a snap! Feel free to swap ingredients or add toppings to suit your cravings or dietary needs — the recipe’s flexibility makes it a kitchen favorite.
- Berry Mix: Substitute or add blueberries, raspberries, or blackberries for a mixed berry twist.
- Gluten-Free: Use gluten-free cones and crushed gluten-free cookies to accommodate dietary restrictions.
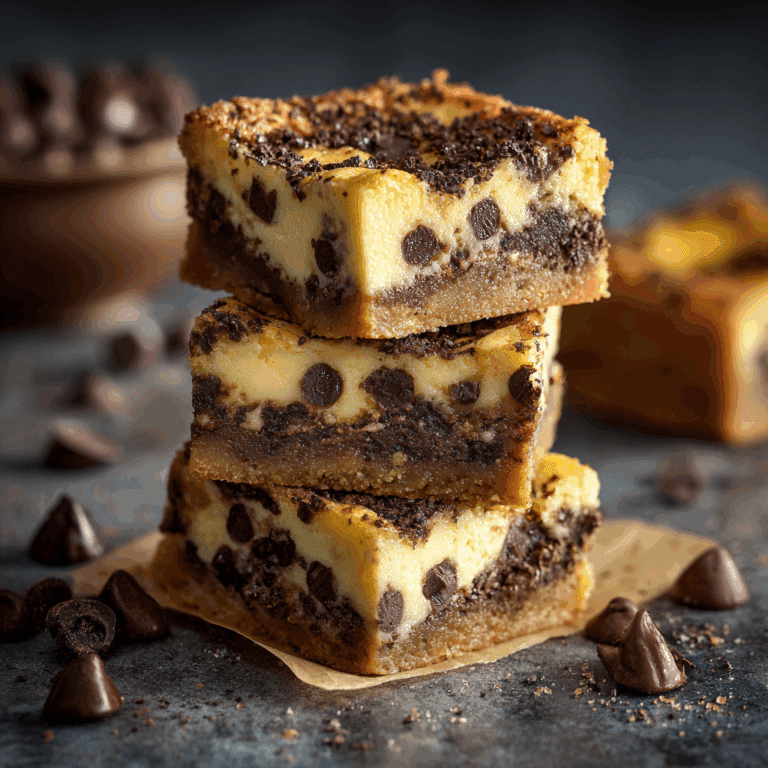
- Chocolate Lovers: Mix mini chocolate chips into the filling or drizzle melted chocolate over the cones for extra indulgence.
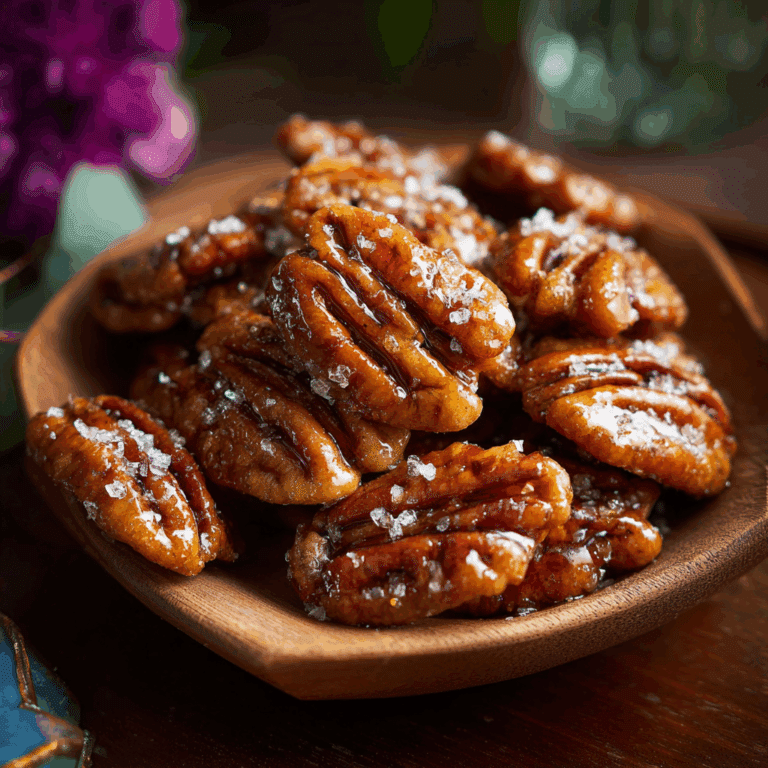
- Nutty Crunch: Sprinkle chopped toasted almonds or pecans on top instead of crackers for a nutty finish.
- Vegan Version: Swap cream cheese and whipped cream for dairy-free alternatives like cashew cream and coconut whipped topping.

How to Make Strawberry Crunch Cheesecake Cones
Step 1: Prepare the Cheesecake Filling
In a large bowl, beat softened cream cheese with powdered sugar and vanilla extract until smooth and creamy. Gently fold in whipped cream until the mixture is light and fluffy. Finally, stir in diced fresh strawberries, ensuring they’re evenly distributed for bursts of fruity flavor.
Step 2: Fill the Waffle Cones
Carefully spoon or pipe the cheesecake filling into each waffle cone, filling them near the top but leaving space for toppings. Using a piping bag with a wide tip helps keep the filling neat and even.
Step 3: Add the Crunchy Topping
Top each filled cone with a generous sprinkle of crushed graham crackers or your choice of crunchy cookies. For added flair, gently press the crumbs into the filling so they stick well.
Step 4: Chill and Serve
Place the cones upright in a cone holder or a tall glass and chill them in the refrigerator for at least 30 minutes. This step allows the flavors to meld and the cheesecake filling to set up perfectly. Serve chilled for the best taste and texture.
Pro Tips for Making Strawberry Crunch Cheesecake Cones
- Soften Cream Cheese Properly: Let it sit at room temperature for 30 minutes to avoid lumps and ensure smooth mixing.
- Use Sturdy Waffle Cones: Choose cones that can hold the filling without cracking or getting soggy too quickly.
- Keep Strawberries Dry: Pat berries dry before dicing to prevent watery filling.
- Fill Just Before Serving: To keep cones crisp, fill them as close to serving time as possible.
- Chill Thoroughly: Refrigerating helps thicken the filling and enhances flavor integration.
How to Serve Strawberry Crunch Cheesecake Cones
Garnishes
Fresh strawberry slices, a drizzle of strawberry sauce, a sprinkle of powdered sugar, or fresh mint leaves make excellent garnishes that elevate the look and taste of your cones.
Side Dishes
Pair these cones with a light fruit salad, a refreshing lemonade, or iced tea to create a balanced and satisfying summer dessert spread.
Creative Ways to Present
Arrange cones upright on a bed of fresh strawberries or edible flowers on a large platter. You can also serve them in colorful cone holders or wrapped with a decorative ribbon to make dessert time extra special.
Make Ahead and Storage
Storing Leftovers
Keep leftover cheesecake filling in an airtight container in the refrigerator for up to 3 days. Avoid storing filled cones as they may become soggy.
Freezing
You can freeze just the cheesecake filling in a sealed container for up to 2 months. Thaw overnight in the refrigerator and stir gently before using.
Reheating
Because this is a no-bake, chilled dessert, reheating is not recommended. Serve your Strawberry Crunch Cheesecake Cones chilled to enjoy the best texture and taste.
FAQs
Can I use frozen strawberries for the filling?
It’s best to use fresh strawberries, but if using frozen, thaw completely and drain excess liquid to prevent a watery filling.
How long do Strawberry Crunch Cheesecake Cones last once made?
They’re best enjoyed the same day for a crisp cone, but if stored properly, the filling can last up to 2 days refrigerated; the cones may start to soften.
Can I make these cones ahead of time for a party?
Prepare the filling in advance and fill the cones close to serving time to keep them fresh and crunchy.
Are these cones gluten-free?
Regular waffle cones and graham crackers contain gluten, but you can substitute gluten-free versions to make the recipe suitable for gluten sensitivity.
What’s the best way to keep cones from getting soggy?
Serve filled cones immediately or keep the cones and filling separate until just before consumption to maintain crispness.
Final Thoughts
Strawberry Crunch Cheesecake Cones are a joyous way to enjoy a classic dessert with a playful twist. Whether you’re making them for a casual family snack or a festive gathering, this recipe is sure to bring smiles with every bite. Give these cones a try and watch how quickly they disappear—you’ll be glad you did!
Related Posts
- Irresistible Pumpkin Cupcakes with Cream Cheese Frosting
- Why Heavenly Raspberry Cheesecake Cupcakes Delight
- How to Make Reese’s Peanut Butter Banana Bread
Strawberry Crunch Cheesecake Cones

Enjoy easy no-bake Strawberry Crunch Cheesecake Cones, a delightful summer dessert combining creamy cheesecake filling with fresh strawberries and a crunchy topping, all nestled inside crisp waffle cones for a fun and mess-free treat perfect for gatherings.
- Prep Time: 15 minutes
- Cook Time: 0 minutes
- Total Time: 45 minutes
- Yield: 6-8 cones 1x
- Category: Dessert
- Method: No-Bake
- Cuisine: American
- Diet: Gluten Free (if using gluten-free cones and cookies)
Ingredients
Cheesecake Filling
- 8 oz cream cheese, softened
- 1 cup whipped cream
- 1/2 cup powdered sugar
- 1 tsp vanilla extract
- 1 cup fresh strawberries, diced
- Optional: 1 tsp lemon zest
Assembly & Topping
- 6–8 waffle cones
- 1/2 cup crushed graham crackers or cookies
Instructions
- Prepare the Cheesecake Filling: In a large bowl, beat the softened cream cheese with powdered sugar and vanilla extract until smooth and creamy. Gently fold in the whipped cream until the mixture is light and fluffy. Finally, stir in diced fresh strawberries and optional lemon zest, distributing evenly.
- Fill the Waffle Cones: Carefully spoon or pipe the cheesecake filling into each waffle cone, filling near the top but leaving space for the topping. Using a piping bag with a wide tip helps keep the filling neat and even.
- Add the Crunchy Topping: Sprinkle crushed graham crackers or cookies generously on top of each filled cone. Gently press the crumbs into the filling so they adhere well.
- Chill and Serve: Place the cones upright in a cone holder or tall glass and chill in the refrigerator for at least 30 minutes to set the filling and meld flavors. Serve chilled for best texture and taste.
Notes
- Soften cream cheese properly by letting it sit at room temperature for 30 minutes to avoid lumps.
- Use sturdy waffle cones to prevent cracking or sogginess.
- Pat strawberries dry before dicing to avoid watery filling.
- Fill cones just before serving to maintain crispness.
- Refrigerate filled cones thoroughly to thicken filling and enhance flavor, but avoid storing filled cones for extended periods to prevent sogginess.
Nutrition
- Serving Size: 1 cone
- Calories: 280
- Sugar: 20g
- Sodium: 150mg
- Fat: 18g
- Saturated Fat: 10g
- Unsaturated Fat: 6g
- Trans Fat: 0g
- Carbohydrates: 22g
- Fiber: 1g
- Protein: 4g
- Cholesterol: 50mg
Keywords: strawberry, cheesecake, no-bake, cones, summer dessert, easy dessert, gluten-free option, quick dessert